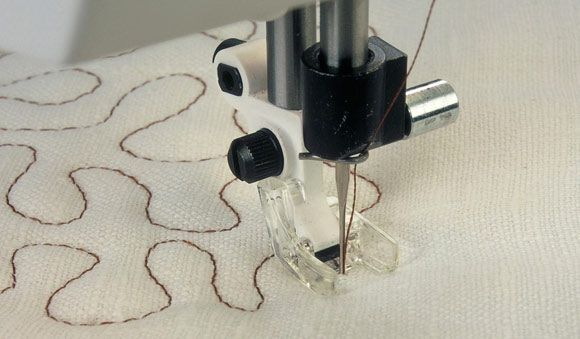
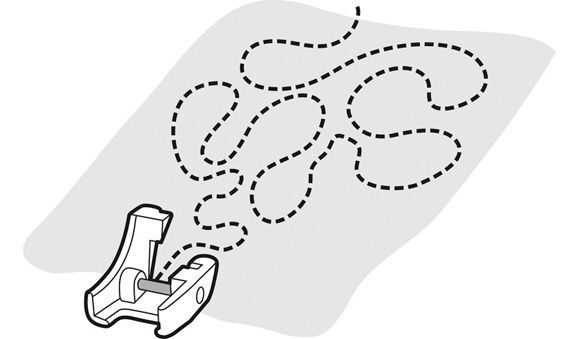
1. Snap on the Clear Open Toe Free Motion Foot.
2. On the Designer Models, select V1. The Feed teeth will drop automatically. On other models follow your Users Guide for instructions on setting up for Free Motion Sewing.
3. Thread with your choice of sewing or decorative thread on top and in the bobbin.
4. Free motion quilting requires some practice so if you have never done free motion sewing, practice on a scrap. Depending on the fabrics and batting you are using, you usually don’t need to adjust the tension. The same applies to the Sensor Presser Foot Pressure Lift Height. Both however can be adjusted if necessary. Because the Clear Open Toe Free Motion Foot is open in the front, you may want to lower the height of the foot if you are on a thinner fabric or batting. Adjust the pressure until the foot is just floating over the fabric. Stitch a sample to get the feel of free motion sewing. You are moving the fabric. The stitch length setting doesn’t matter because when you drop the feed teeth, the fabric is no longer being fed by the machine. You must feed (move) the fabric.
5. Once you are satisfied with your stitching on scraps, move to your quilt. The clear vision of the Clear Open Toe Free Motion Foot will enable you to follow patterns easily. Stitch in place (don’t move the fabric) for several stitches to lock the threads in place. Then begin free motion sewing. When you are done, stitch in place again to lock the threads at the end of the stitching.
Fits machine types 1 & 7
not for OPAL™ seriesWhat class is my machine?
| Available for purchase online | Available Online and In-Store |
|---|

